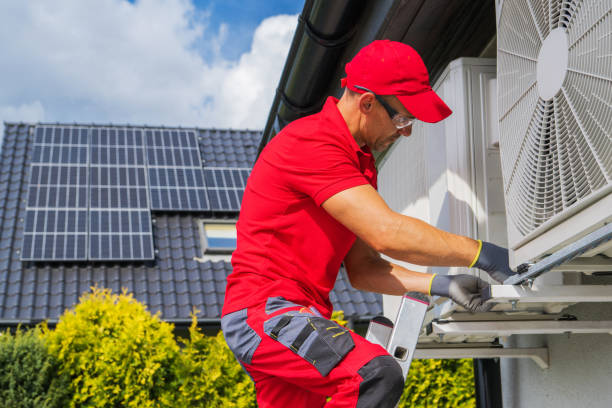
In the realm of home comfort and energy efficiency, a well-installed HVAC system is paramount. A proper residential HVAC system installation not only ensures optimal performance but also extends the lifespan of the system. Whether updating an existing system or installing a new one, understanding the key steps involved in the process is crucial for homeowners and professionals alike.
1. Initial Assessment and Planning
Before commencing any installation work, a comprehensive assessment of the property is necessary. This involves:
- Evaluating the home’s heating and cooling needs based on its size, layout, and insulation.
- Considering environmental factors such as climate and geographic location.
- Inspecting existing ductwork and determining if any modifications are needed.
The planning stage includes selecting the right HVAC system that suits the specific requirements of the home. It?s imperative to choose a system that is both energy-efficient and cost-effective.
2. Choosing the Right Equipment
Choosing the appropriate equipment is a critical step. The focus should be on:
- Energy efficiency ratings, such as SEER (Seasonal Energy Efficiency Ratio) for air conditioners and AFUE (Annual Fuel Utilization Efficiency) for furnaces.
- The brand reputation and warranty options.
- The compatibility of the new system with any existing components.
Making informed decisions at this stage can prevent future operational issues and ensure that the system meets both comfort and budgetary needs.
3. Professional Installation Process
A. Site Preparation
Proper site preparation is essential to ensure a smooth installation process. This includes:
- Clearing the area where the HVAC system will be installed.
- Ensuring that all necessary tools and equipment are readily available.
- Reviewing the installation plan and verifying that all components are ready for assembly.
B. Installation of Components
The installation process involves several critical steps:
- Setting up the outdoor unit, ensuring it is level and has adequate clearance for airflow.
- Installing the indoor unit(s), including any necessary modifications to accommodate the new system.
- Connecting ductwork and sealing it properly to prevent leaks.
It is essential to adhere to manufacturer guidelines and local building codes throughout the installation process.
4. System Testing and Calibration
After installation, the system must be thoroughly tested to ensure it operates correctly. This includes:
- Checking for any leaks in the ductwork or refrigerant lines.
- Ensuring that the thermostat communicates effectively with the HVAC system.
- Calibrating the system for optimal performance, adjusting settings as necessary.
Proper testing and calibration ensure that the system is running at peak efficiency and that any potential issues are addressed before they become significant problems.
5. Final Walkthrough and Education
The final step involves a detailed walkthrough with the homeowner to explain the system’s functionalities. Key points to cover include:
- Basic operation of the system and thermostat settings.
- Recommended maintenance schedules and tips for prolonging the system?s lifespan.
- Warranty registration and service contact information.
Educating the homeowner ensures they are equipped to maintain the system properly and recognize when professional assistance may be needed.
Conclusion
Successful residential HVAC system installation is a multifaceted process that requires meticulous planning, skilled execution, and thorough testing. By adhering to these key steps, homeowners can enjoy enhanced comfort, improved energy efficiency, and peace of mind knowing their HVAC system is built to last. Investing in professional installation services is a wise decision that yields benefits for years to come.