Adding a wooden fence to your property not only enhances its aesthetic appeal but also increases its value. Wood fence panels are a popular choice among homeowners due to their natural beauty, versatility, and durability. In this article, we will discuss how installing wood fence panels can transform your property and provide simple steps to help you with the installation process.
Benefits of Wood Fence Panels
Natural Beauty
- Wood fence panels add a touch of warmth and natural beauty to any property.
- They blend seamlessly with the surrounding landscape, making them a versatile choice for various architectural styles.
Enhanced Privacy and Security
- Wooden fences provide privacy by creating a barrier between your property and the outside world.
- They also offer security by deterring intruders and keeping children and pets safe within the confines of your property.
Durability
- High-quality wood fence panels are built to last, withstand harsh weather conditions, and resist rot and decay.
- With proper maintenance, a wood fence can last for many years, making it a long-term investment for your property.
Choosing the Right Wood Fence Panels
When selecting wood fence panels for your property, consider the following factors:
Wood Type
- Cedar and redwood are popular choices for wood fence panels due to their natural resistance to rot and insects.
- Pine is a more affordable option but requires regular maintenance to ensure durability.
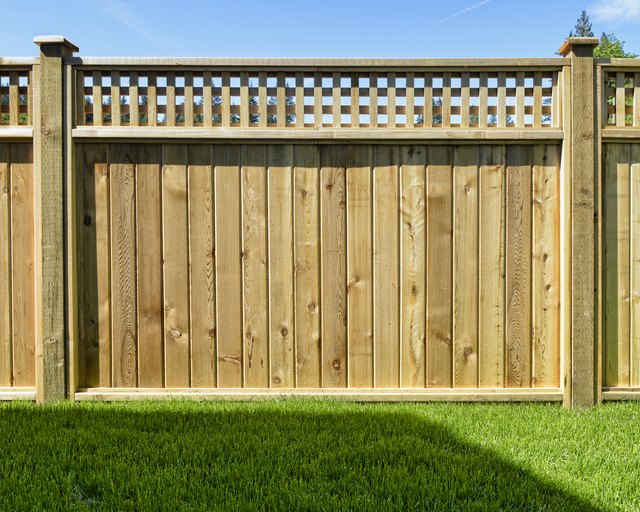
Panel Style
- Choose a panel style that complements your property's architecture and landscaping.
- Options include picket fences, privacy fences, lattice fences, and more.
Panel Height and Width
- Determine the desired height and width of the panels based on your privacy and security needs.
- Standard panel heights range from 4 to 8 feet, and widths can vary depending on the design.
Simple Steps for Installing Wood Fence Panels
Step 1: Planning and Preparation
- Measure the perimeter of your property to determine the amount of fencing material needed.
- Check local building codes and regulations regarding fence height, location, and materials.
- Mark the fence line with stakes and string to visualize the layout before installation.
Step 2: Digging Post Holes
- Use a post hole digger to create holes for the fence posts, spacing them 6 to 8 feet apart.
- Make sure the holes are deep enough to support the height of the fence panels, typically 1/3 of the post length.
- Add gravel to the bottom of each hole for drainage and place the posts securely in position.
Step 3: Installing Fence Panels
- Attach the fence panels to the posts using nails or screws, ensuring they are level and secure.
- Leave a gap between the ground and the panels to prevent moisture damage and rot.
- Continue this process until all panels are installed along the fence line.
Step 4: Finishing Touches
- Apply a weatherproof sealant or paint to protect the wood from UV rays, moisture, and insects.
- Add decorative elements such as trim, post caps, and lattice for a customized look.
- Regularly inspect and maintain the fence to ensure its longevity and continued curb appeal.
Conclusion
Enhancing your property's value and curb appeal with wood fence panels is a rewarding investment that can transform your outdoor space. By choosing the right wood materials, panel styles, and installation techniques, you can create a beautiful and functional fence that adds privacy, security, and character to your property. Follow the simple steps outlined in this article to make the installation process as easy and seamless as possible. With proper care and maintenance, your wood fence panels will stand the test of time and continue to enhance your property for years to come.