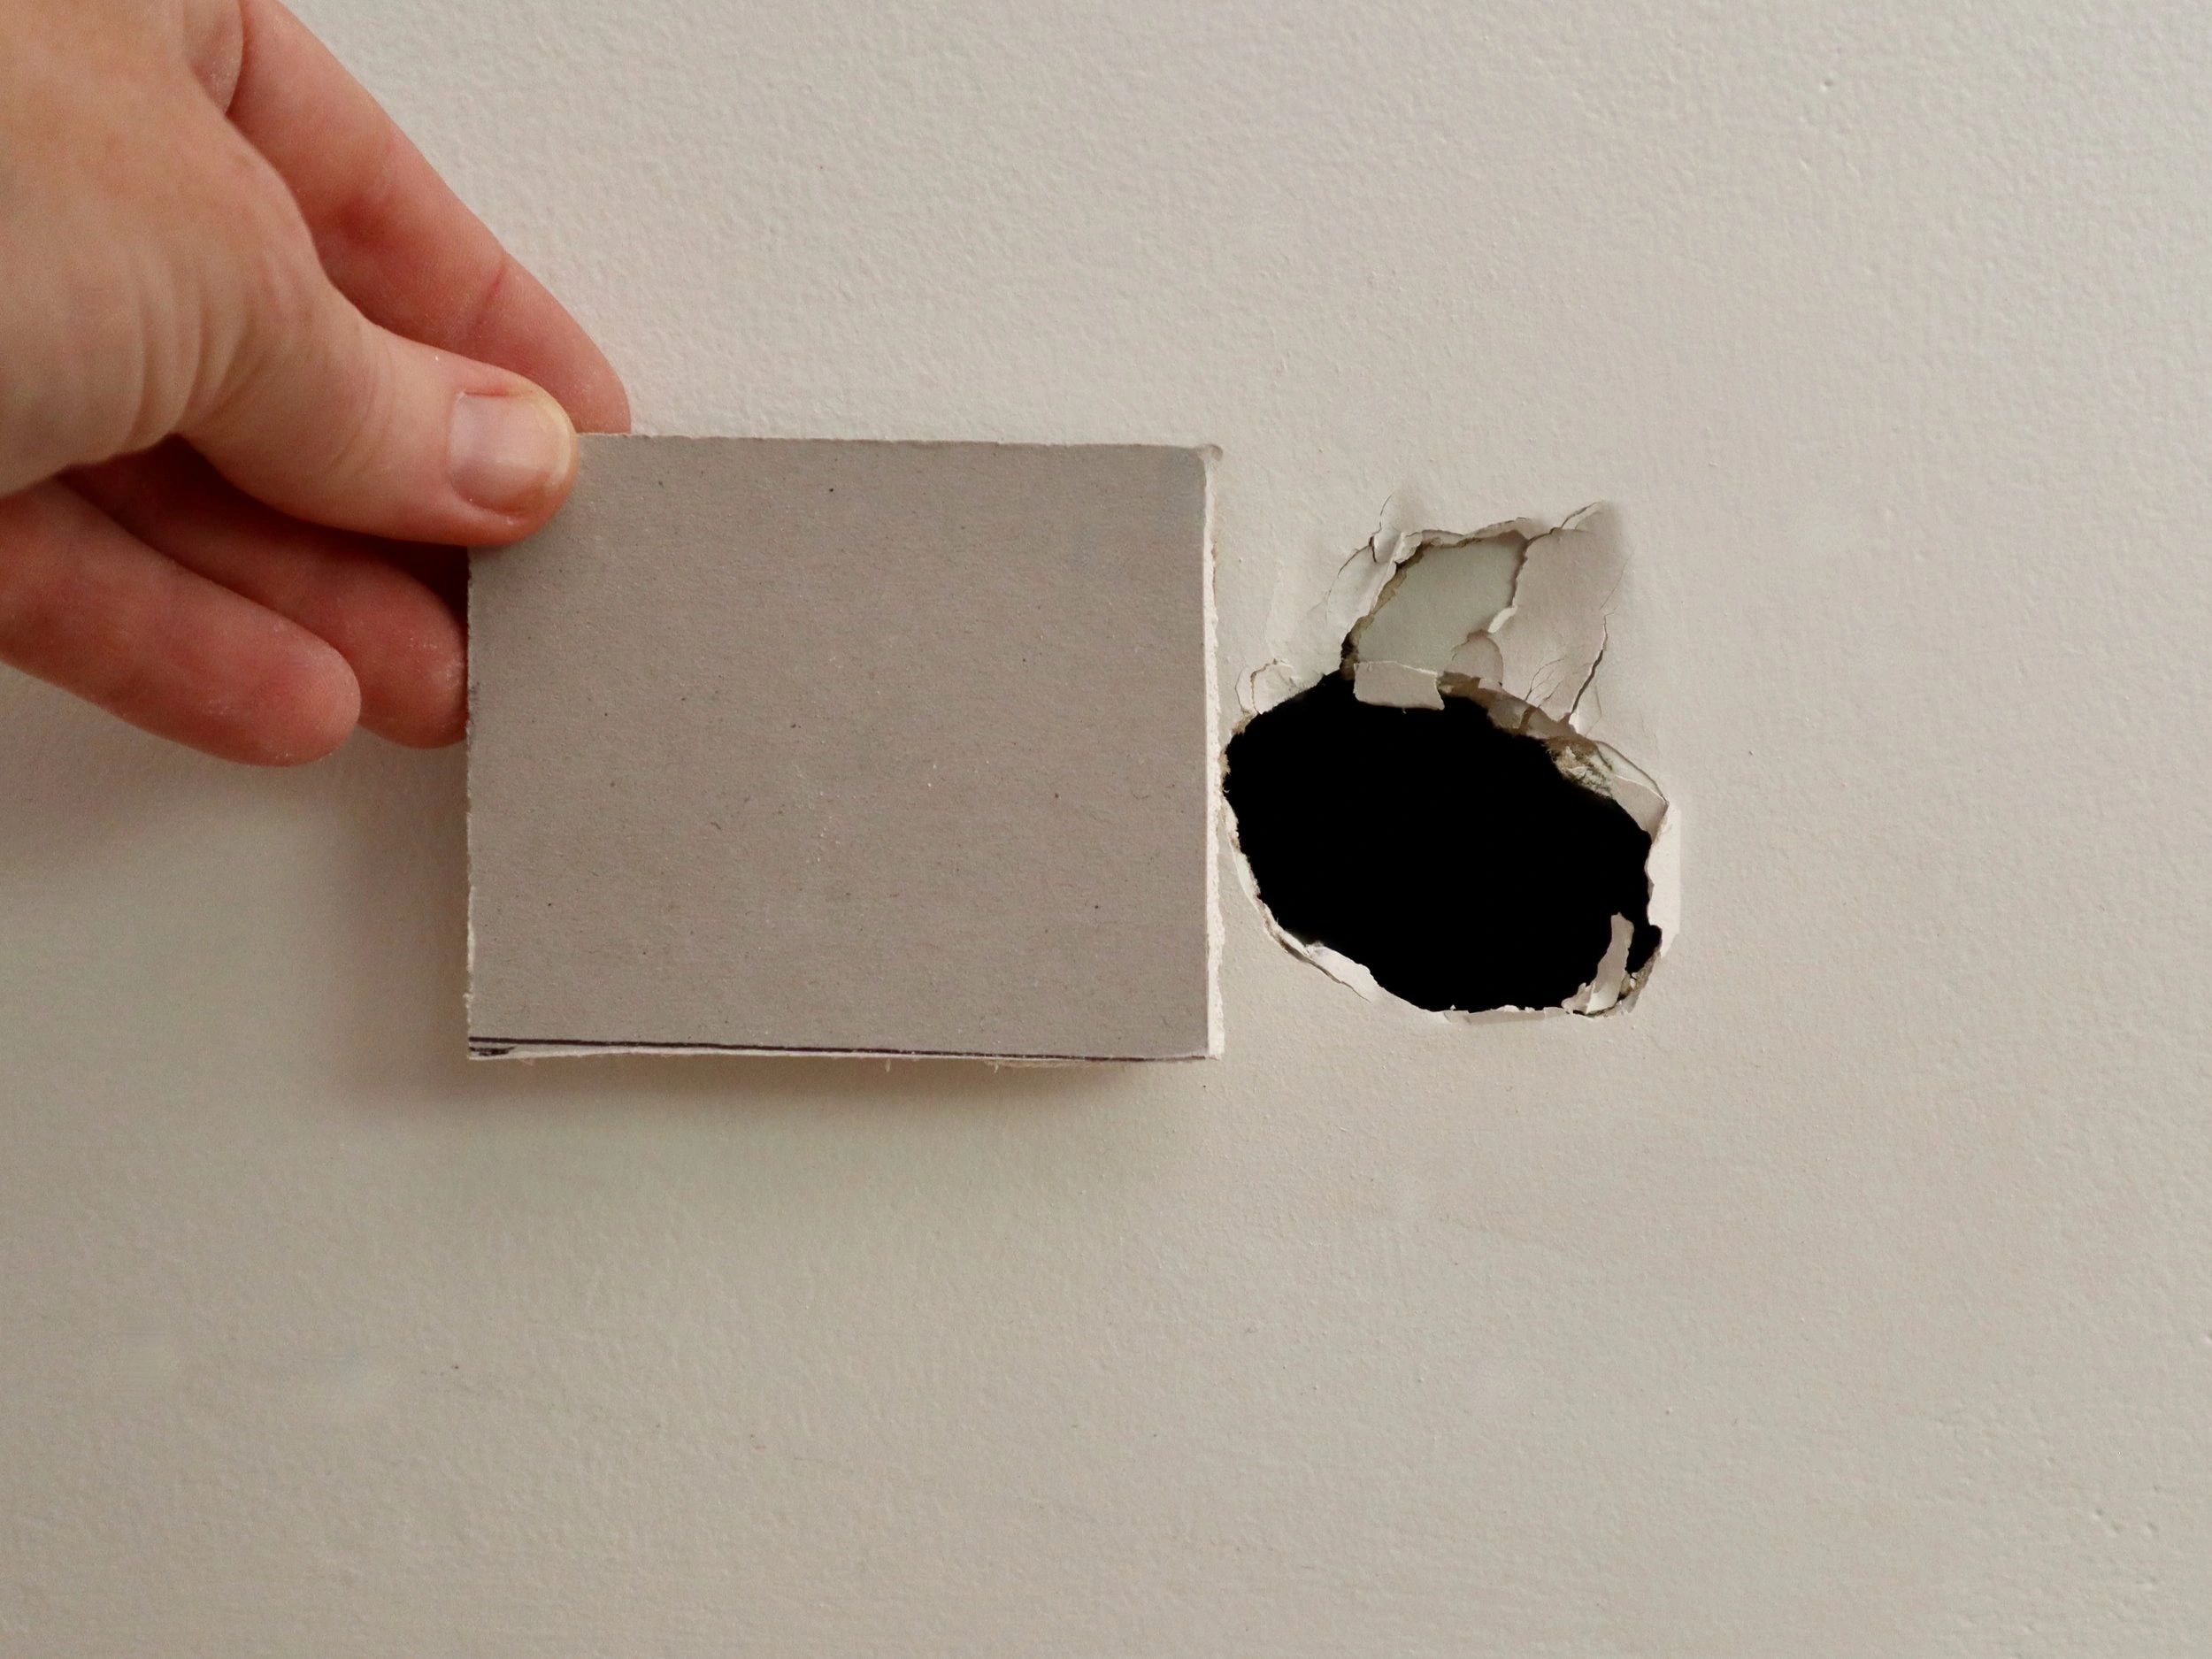
Restoring the pristine condition of plaster walls requires a delicate touch and a keen eye for detail. While many might consider wall repairs daunting, mastering the art of patching plaster walls can be both rewarding and satisfying. This guide will walk you through essential techniques and considerations for achieving a seamless finish, ensuring that every repair blends harmoniously with the existing surface.
Understanding Plaster Wall Construction
Plaster walls have been a staple in construction due to their durability and aesthetic appeal. Before diving into repair techniques, it’s crucial to understand the basic composition of plaster walls, which typically comprise a base layer of wooden lath, followed by several coats of plaster. This multilayered structure provides a robust and smooth finish but can pose unique challenges during repairs.
Essential Tools and Materials
Before beginning any patching project, assembling the right tools and materials is a must. Here’s a list of essentials to have on hand:
- Plaster mix or patching compound
- Putty knife or plaster trowel
- Sandpaper (medium and fine grit)
- Primer and paint
- Protective gear (gloves, mask, goggles)
For a more comprehensive list and tips on selecting the best tools, explore advanced guides and tips.
Step-by-Step Patching Process
1. Preparing the Surface
Begin by cleaning the area around the damage. Remove any loose plaster and dust, ensuring the surface is clean and dry. Use a utility knife to undercut the edges slightly, which helps the new plaster adhere better.
2. Applying the Plaster
Mix the plaster or patching compound as per the manufacturer’s instructions. Using a putty knife, apply a thin layer of plaster, pressing it firmly into the damaged area. Feather the edges to blend smoothly with the surrounding wall.
3. Sanding and Finishing
Once the plaster is dry, sand it lightly with medium-grit sandpaper to remove any roughness. Follow with fine-grit sandpaper for a smooth finish. After sanding, wipe the area clean, apply a primer, and repaint to match the existing wall.
For detailed instructions on each step, discover expert strategies here.
Common Mistakes to Avoid
Even seasoned professionals can make mistakes. Here are some common pitfalls to watch for:
- Using the wrong type of plaster for the repair
- Failing to prep the surface adequately before patching
- Neglecting to feather the edges of the patch
- Skipping the sanding process, resulting in a rough finish
To avoid these and other common errors, learn about our tailored solutions.
Final Thoughts
Mastering the art of patching plaster walls can transform any space, restoring its original charm and elegance. By understanding the construction of plaster walls, gathering the right tools, and following a meticulous process, any repair can be executed with precision. For additional resources and expert advice, find out more about this approach.